Introduction
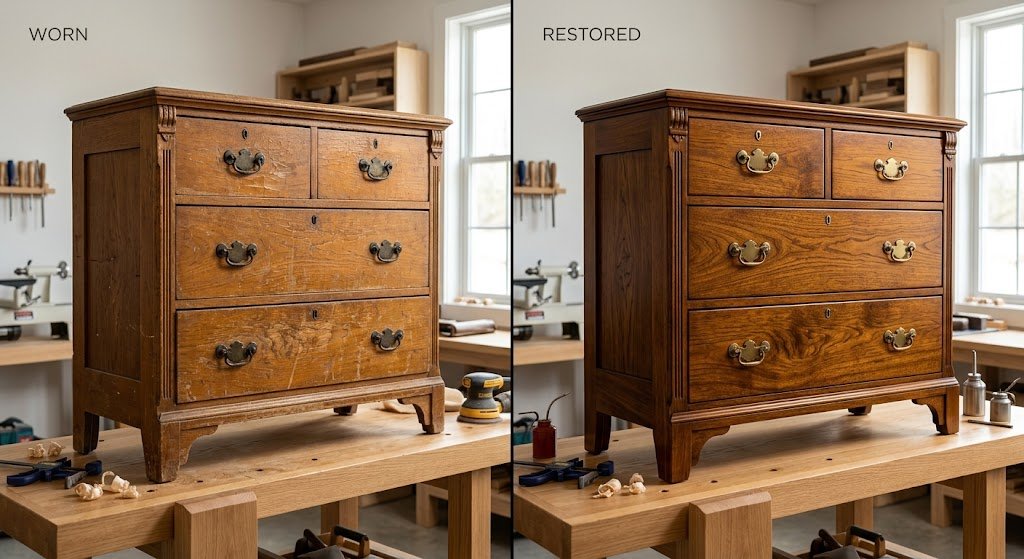
Antique wooden furniture possesses a level of craftsmanship, character, and historical appeal that modern mass-produced pieces rarely match. However, decades of wear, exposure to direct sunlight, and build-up of old wax or varnish can leave these classic treasures looking dull, scratched, or damaged. Knowing how to restore and refinish antique wooden furniture allows you to preserve valuable heritage while breathing vibrant new life into classic tables, dressers, and chairs https://fibozin.com.
Refinishing isn’t simply about painting over imperfection—it’s a deliberate restoration process that reveals the natural beauty of aged timber grain. Whether you are working with an heirloom family piece or a flea-market find, following a structured, step-by-step restoration technique ensures professional-grade results without compromising the wood’s structural integrity or historic value.
Key Takeaways
- Distinguish Restoration vs. Refinishing: Gentle restoration involves cleaning, reviving, and repairing the original finish, whereas refinishing requires completely removing old varnish or lacquer down to raw wood.
- Prioritize Chemical Stripping Over Harsh Sanding: Chemical strippers remove thick topcoats without thinning delicate veneers or rounding off sharp hand-carved details.
- Neutralize and Repair First: Always neutralize chemical strippers and complete all structural repairs, grain filling, and glue-ups before applying stains or sealers.
- Sand Progressively Along the Grain: Always sand in the direction of the wood grain using progressive paper grits (120 to 220) to prevent cross-grain scratches.
- Apply Protective Topcoats in Thin Layers: Multiple thin coats of wipe-on poly, tung oil, or shellac deliver far better protection and depth than a single heavy coat.
1. Cleaning and Assessing the Antique Furniture
Before reaching for chemical strippers or sandpaper, thoroughly clean and evaluate the piece. In some cases, a thorough cleaning and a coat of paste wax may be all that’s needed to restore the original luster without full refinishing.
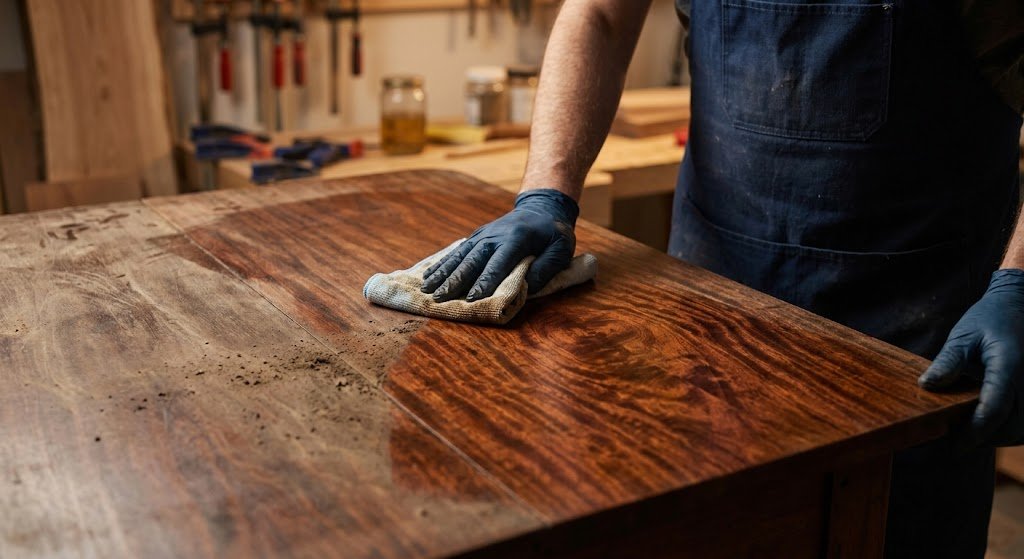
Assessment Checklist:
- Identify the Wood Species: Determine whether you are working with solid hardwood or a thin wood veneer over pine or MDF. Delicate veneers require extra caution during sanding.
- Test the Existing Finish: Apply a drop of denatured alcohol to a hidden area. If it dissolves, the finish is shellac. If lacquer thinner dissolves it, it’s lacquer. If neither works, it is likely varnish or polyurethane.
- Check Structural Joints: Test for loose legs, wobbly dovetail drawers, or split panels that require re-gluing prior to finishing Wikipedia.
[Internal Link: Learn how to identify timber types in our comprehensive softwood vs. hardwood comparison guide]
2. Stripping the Old Finish Safely
Stripping away old layers of yellowed varnish, lacquer, or paint is the core step when you restore and refinish antique wooden furniture. Using a chemical stripper preserves the wood’s original contours far better than aggressive mechanical sanding.
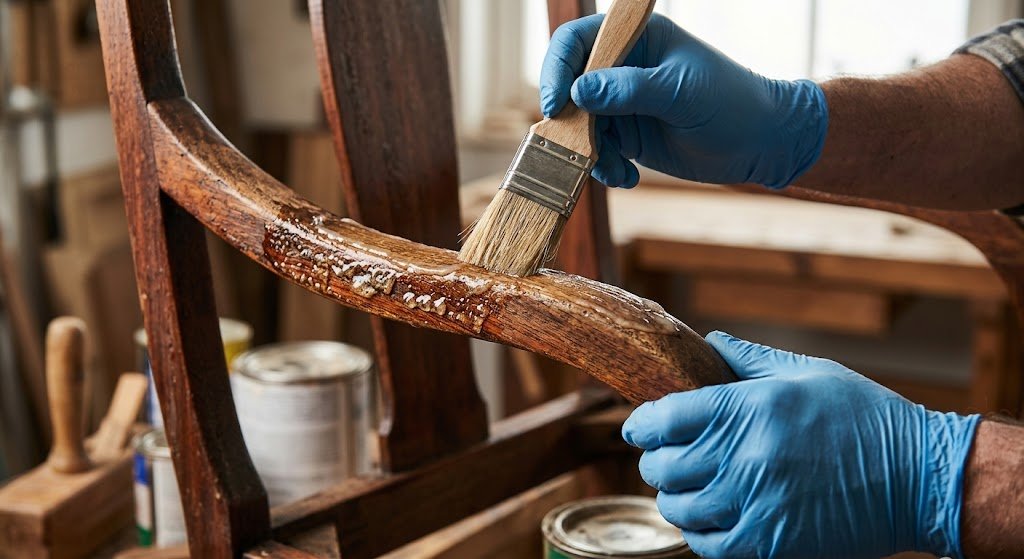
Step-by-Step Stripping Process:
- Apply a Gel or Citrus Stripper: Brush a generous, even coat of stripper over the surface. Allow it to sit for 15–30 minutes until the finish bubbles up.
- Scrape with Care: Use a flexible plastic putty knife or brass wool (instead of steel wire brushes) to scrape off the softened finish without gouging the soft wood fibers.
- Clean Recesses and Carvings: Use fine brass bristles or wooden skewers to gently pick old finish out of carved details and turned legs.
- Neutralize the Surface: Wipe down the stripped wood with mineral spirits or denatured alcohol to neutralize stripper residues.
3. Repairing, Sanding, and Filling the Wood
Once the piece is stripped down to raw wood, address any scratches, gouges, or loose joinery.
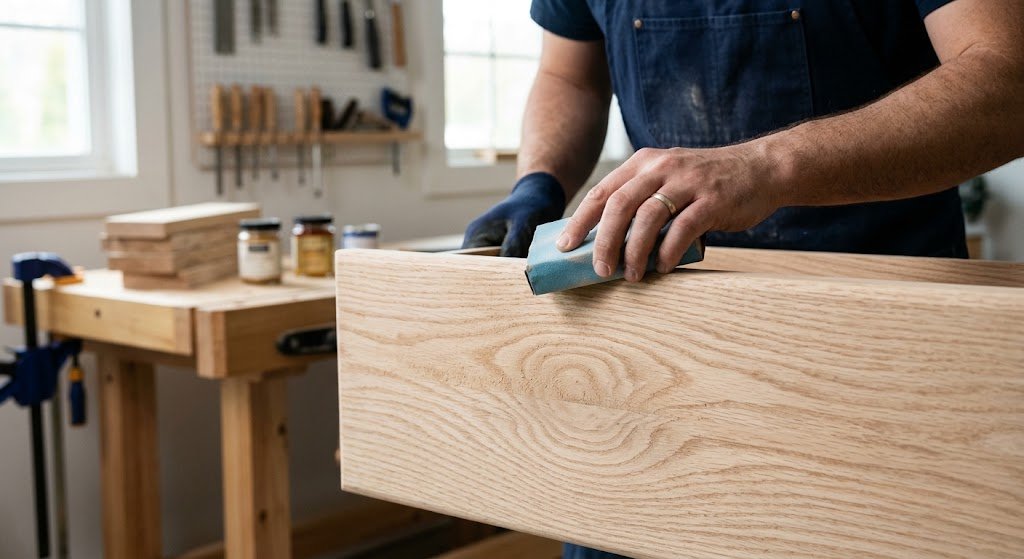
Sanding and Repair Rules:
- Glue and Clamp Loose Joints: Inject PVA wood glue or hide glue into loose joints and clamp tightly for at least 24 hours.
- Progressive Sanding: Start with 120-grit sandpaper for stubborn residue, move to 150-grit, and finish with 180- or 220-grit for a silky smooth surface. Always sand parallel to the wood grain.
- Grain Filling (For Open-Grained Woods): Apply a paste wood grain filler on open-grained hardwoods like oak or walnut if you want a glassy, ultra-smooth topcoat.
[External Link: Consult the Smithsonian Museum Conservation Institute guide on caring for historic wooden furniture]
4. Staining and Applying Protective Topcoats
The final stage brings out the warm depth of the timber and seals it against future moisture, UV light, and everyday wear.
Selecting the Right Stain and Finish:
- Wiping Stains: Oil-based penetrating wood stains offer the most control and uniform color distribution across large surfaces.
- Traditional Shellac or Tung Oil: Excellent for authentic period pieces where a warm, repairable finish is desired.
- Polyurethane or Wipe-On Poly: Provides maximum scratch and water resistance for dining tables, desk tops, and high-use furniture.
Application Tip:
Apply 3 to 4 thin coats of topcoat rather than 1 heavy coat. Lightly scuff-sand between coats using 320-grit paper or #0000 ultra-fine steel wool to eliminate dust nibs and ensure perfect adhesion.
Frequently Asked Questions (FAQs)
Does refinishing an antique diminish its financial value?
Refinishing rare, museum-quality antiques with original patinas can reduce their historic collection value. However, for everyday vintage furniture, family heirlooms, or heavily damaged pieces, proper refinishing significantly increases both aesthetic and market value.
What is the best way to restore and refinish antique wooden furniture with fine carvings?
Avoid power sanders on carved areas. Use gel-based chemical strippers combined with contoured sanding sponges, fine brass wire brushes, and wooden detail sticks to clean out intricate carvings without rounding sharp edges.
How do I remove dark water stains from bare antique wood?
After stripping the finish, apply oxalic acid (wood bleach) dissolved in warm water directly onto water-stained areas. Allow it to dry, then neutralize with clean water to lift dark iron/water stains out of the grain.
Conclusion
Learning how to restore and refinish antique wooden furniture is a rewarding craft that combines historical preservation with practical woodworking skills. By taking the time to carefully clean, strip, repair, sand, and seal your piece, you transform neglected furniture into breathtaking centerpiece items that will last for generations to come.
Leave a Reply