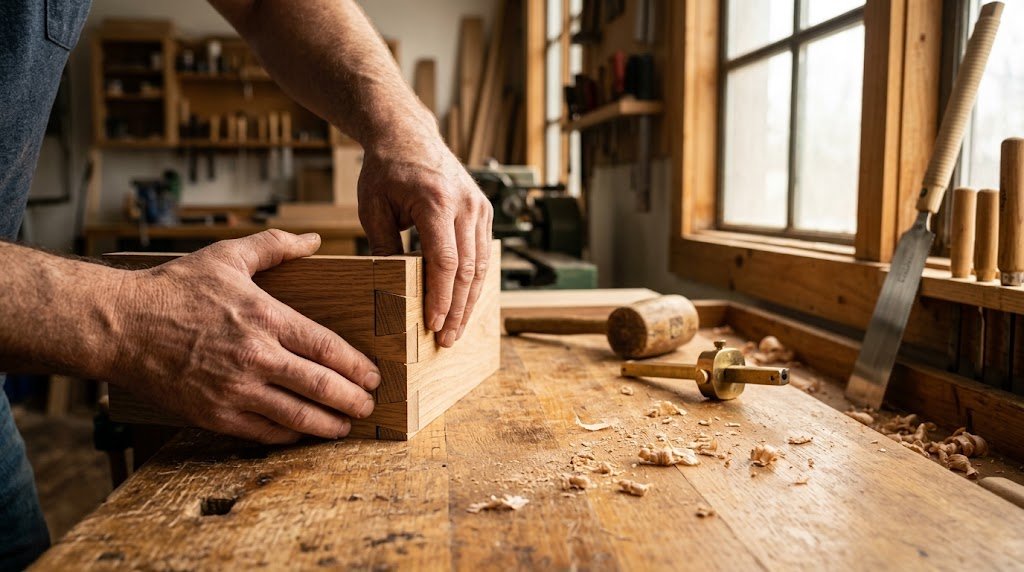
Woodworking is both an art and a science, with Precision Joinery and Woodworking Basics standing at the core of every durable, beautiful creation. Whether you are building a simple wooden box, crafting a dining table, or designing custom cabinetry, the strength and longevity of your piece depend on how well the individual components interlock https://fibozin.com.
Mastering precision joinery requires more than just sharp tools—it demands an understanding of timber characteristics, accurate marking techniques, and deliberate cutting strategies. For beginners and intermediate woodworkers alike, navigating through complex joinery methods can feel overwhelming. This comprehensive guide breaks down essential woodworking basics, detailing the primary joints every maker must know, the critical tools required, and the step-by-step practices needed to achieve flawless, gap-free joints every time.
KM Tools
Key Takeaways: What You Will Learn
- Foundation First: Understanding grain orientation and seasonal wood movement is critical before making your first cut.
- Essential Joinery Spectrum: Joinery spans from accessible beginner connections (pocket-hole and half-lap joints) to advanced mechanical locks (mortise-and-tenon and dovetails). Kreg Tool
- Precision Layout Rules: “Measure twice, cut once” is only effective when using fine-line marking knives rather than thick pencils.
- Glue & Mechanical Integrity: Modern PVA adhesives provide incredible tensile strength, but proper clamping pressure and accurate joint fitment remain indispensable. Shaper Tools
1. Understanding Wood Characteristics and Layout Principles
Before cutting into a piece of lumber, it is essential to understand that wood is an organic, dynamic material. Unlike metal or plastic, wood continuously expands and contracts across its grain in response to seasonal humidity shifts.
Grain Orientation & Seasonal Movement
When executing precision joinery, always account for how the wood fibers align. Long-grain-to-long-grain glue connections are extremely strong—often stronger than the wood itself—whereas end-grain-to-end-grain connections are notoriously weak because end grain absorbs glue like a bundle of straws.
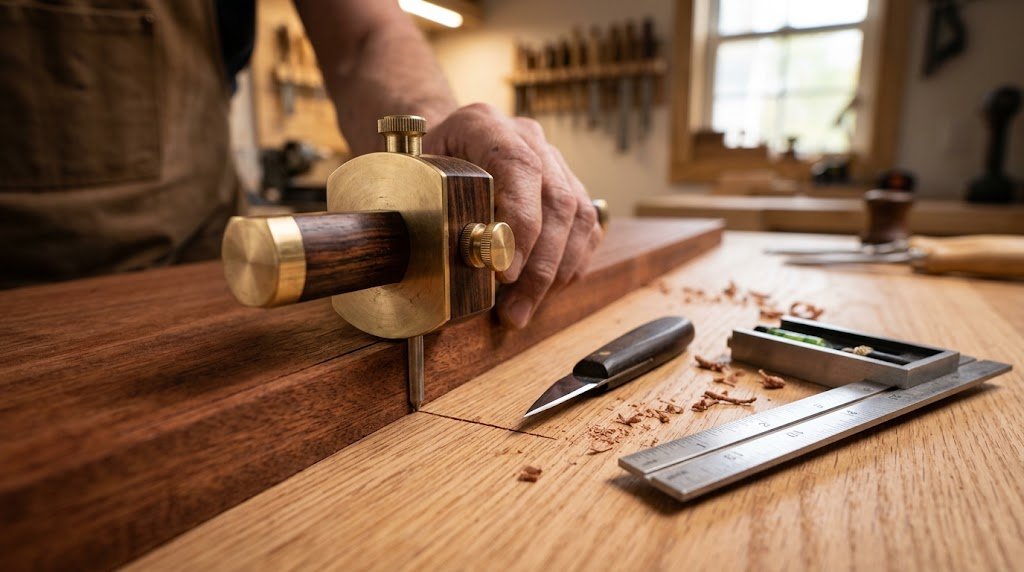
Layout Tools for Uncompromising Accuracy
Accurate layouts eliminate cumulative errors during assembly. Ditch soft graphite pencils for layout work in favor of dedicated precision tools:
- Marking Knife: Scribes a crisp line directly into the wood fibers, preventing tear-out when chiseling or sawing.
- Combination Square: Essential for checking true 90° and 45° angles across board faces and edges.
- Marking Gauge: Draws precise parallel lines relative to a reference edge, crucial for mortise and tenon or dovetail layouts.
2. Essential Woodworking Joints: From Simple to Advanced
Selecting the correct joint depends on the structural demands of the piece, visible end grain preferences, and your current skill level.
  +------------------+-----------------------+------------------------+
  | Joint Type       | Difficulty Level      | Best Used For          |
  +------------------+-----------------------+------------------------+
  | Pocket-Hole      | Beginner              | Cabinet frames, Face   |
  | Half-Lap         | Beginner-Intermediate | Picture frames, Base   |
  | Mortise & Tenon  | Intermediate          | Tables, Chairs, Doors  |
  | Dovetail         | Advanced              | Drawers, Heavy Chests  |
  +------------------+-----------------------+------------------------+
Pocket-Hole and Half-Lap Joints (Beginner Level)
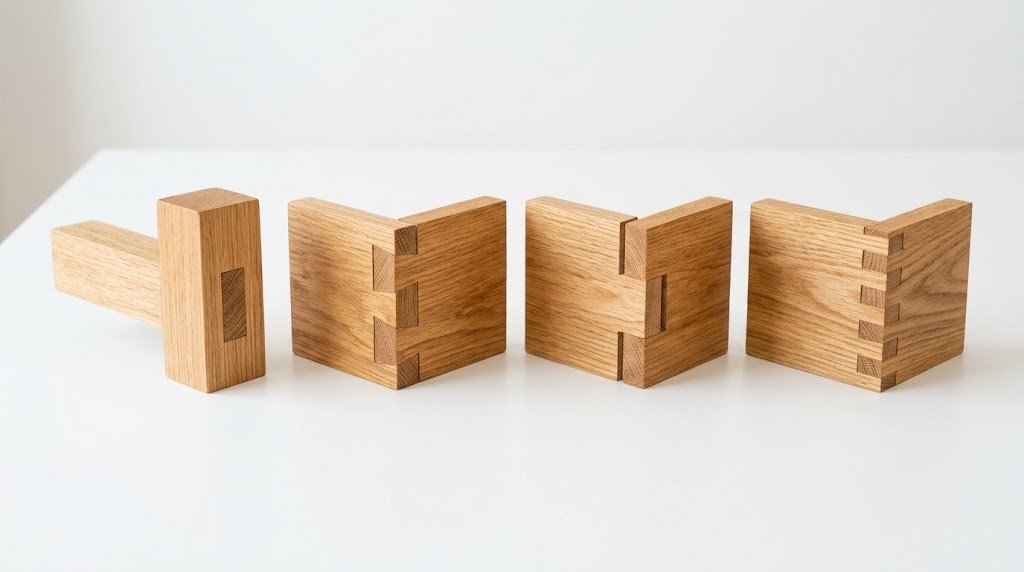
For rapid assembly and high functional strength without complex hand tool work, pocket-hole joints use angled guide holes and mechanical fasteners. Half-lap joints remove half the thickness from each mating piece, creating a flush, overlapping connection with vast glue surface area.
Kreg Tool+ 1
For further reading on workshop safety and tool setups, check out our [Internal Link: Insert relevant internal URL here with anchor text – guide to setting up a home woodworking shop].
Mortise and Tenon (The Structural Workhorse)
The mortise and tenon joint consists of a peg (tenon) fitting tightly into a corresponding square or rectangular cavity (mortise). Used for thousands of years in timber framing and furniture making, it provides exceptional resistance to racking forces.
BORA Tool
Dovetail Joints (The Hallmark of Fine Craftsmanship)
Dovetails feature interlocking “pins” and “tails” that mechanically lock together, preventing boards from pulling apart in one direction. They are the gold standard for drawer construction and fine cabinetry.
BORA Tool
3. Step-by-Step Execution: Achieving Gap-Free Joinery
Executing precision joinery consistently requires a systematic process. Follow these core steps on every project:
Step 1: Establish a Reference Face and Edge
Mark one face and one adjacent edge of your workpiece as your reference planes (traditionally marked with a face mark and edge mark). All measurements and square alignments must originate from these two reference surfaces.
Step 2: Scribe Your Cut Lines
Use your marking knife and square to score deep guide lines along the waste side of the joint. Scribed lines create a physical baseline that catches the teeth of your saw or the edge of your chisel.
Step 3: Sawing and Chiseling to the Line
- Sawing: Position your hand saw blade on the waste side of the line, leaving the scored knife line intact.
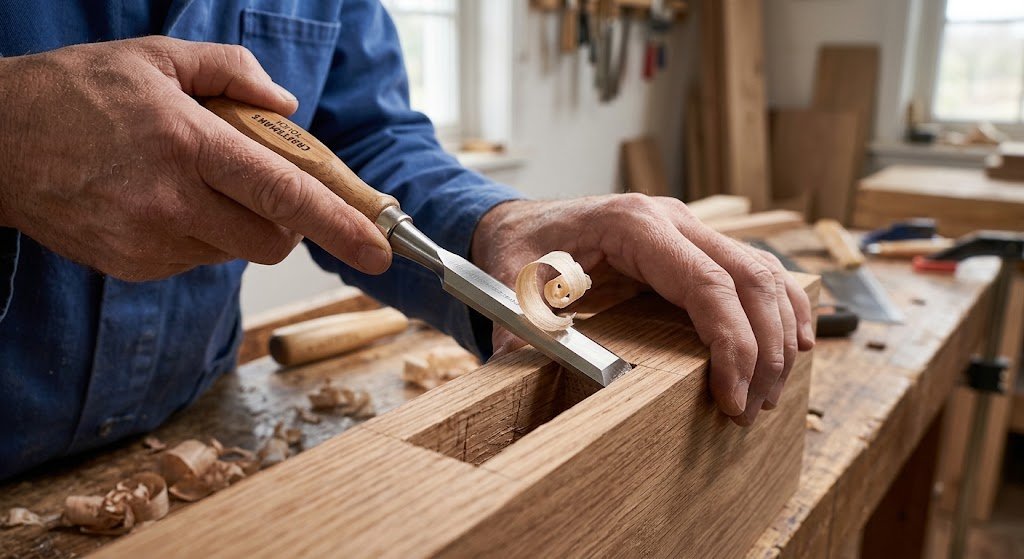
- Chiseling: Work incrementally. Take light pare cuts rather than heavy chops to avoid splitting the wood past your layout boundary.
Step 4: Dry Fitting and Micro-Adjustments
Never apply glue right away. Perform a dry fit of the joint. Inspect for high spots, gaps, or out-of-square alignment. Use a shoulder plane or sharp chisel to pare down snug points until the joint slides together with firm hand pressure.
For detailed engineering standards on wood adhesive bonding and moisture content standards, refer to the [External Link: Insert high-authority external URL here with anchor text – USDA Forest Products Laboratory Wood Handbook Wikipedia].
[Image Placeholder 3]
4. Glue-Up, Clamping, and Final Finishing
Even impeccably cut joints can fail or misalign during assembly if clamping and gluing are executed carelessly.
- Spread Glue Evenly: Apply a thin, continuous layer of polyvinyl acetate (PVA) or polyurethane glue across both mating long-grain surfaces. Avoid excessive glue, which causes messy squeeze-out and dulls finishing stains.
- Apply Balanced Clamp Pressure: Clamps should apply steady, centered pressure to close the joint fully without bowing the workpiece.
- Clean Up Squeeze-Out: Allow squeeze-out glue to reach a rubbery state (about 20–30 minutes) before scraping it off with a cabinet scraper or chisel.
Summary & Conclusion
Mastering precision joinery is a journey of practice, patience, and tool control. By respecting wood grain mechanics, investing time in accurate layouts, and taking measured steps during cutting and dry-fitting, you can create rock-solid furniture and woodworking projects built to last for generations.
Focus on perfecting one joint style at a time—start with simple half-laps or pocket holes, then progress to mortise-and-tenon and dovetail work as your confidence grows.
KM Tools
Frequently Asked Questions (FAQs)
What is the strongest woodworking joint for load-bearing furniture?
The mortise and tenon joint is widely considered the strongest joint for structural framing, table legs, and chairs due to its deep surface area contact and mechanical interlocking design.
How do I prevent my wood from splitting when cutting precise joints?
To prevent splitting, always pre-score your cut lines with a sharp marking knife to sever surface fibers. Additionally, take thin paring cuts with well-honed chisels instead of forcing thick cuts through dense timber.
Can beginners execute precision joinery without expensive power tools?
Yes! Traditional precision joinery can be accomplished entirely with a few basic hand tools: a marking knife, a combination square, a Japanese pull saw or backsaw, and a set of sharp chisels.
Why do my joints have gaps even after measuring carefully?
Gaps usually stem from measuring with a thick pencil lead rather than a fine knife, sawing directly on the line instead of the waste side, or failing to establish a perfectly flat reference face on your stock before cutting.
Leave a Reply