Introduction:
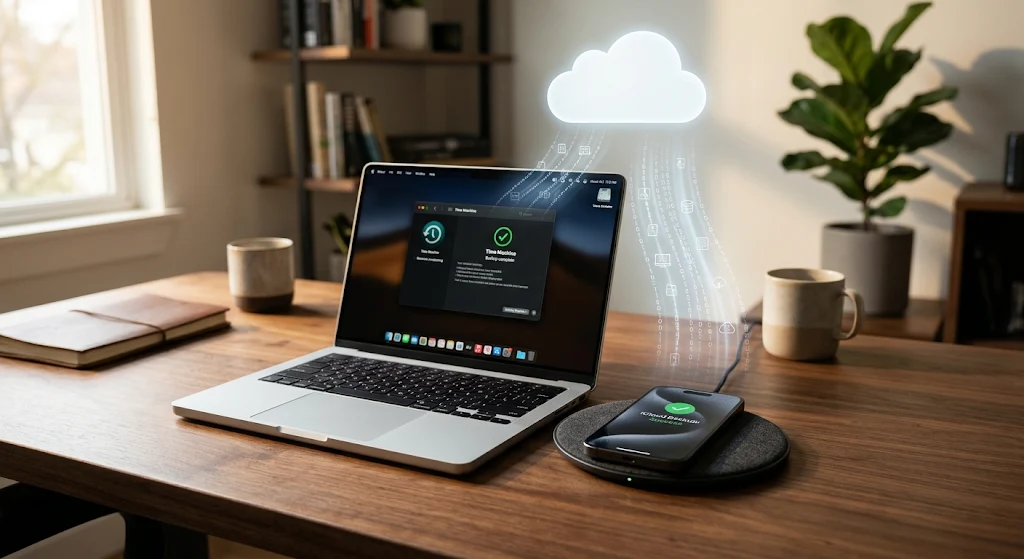
Relying on manual file transfers is a guaranteed way to lose irreplaceable photos, tax records, and work projects when a hard drive fails or a phone gets dropped in water. Learning how to back up your phone and PC automatically eliminates human error and ensures your digital life is continuously protected in the background without requiring daily effort.
Modern operating systems and cloud platforms make automated data protection virtually effortless once configured. By combining built-in OS tools with reliable cloud synchronization, you can build a resilient, hands-off safety net across every device you own https://fibozin.com.
Key Takeaways
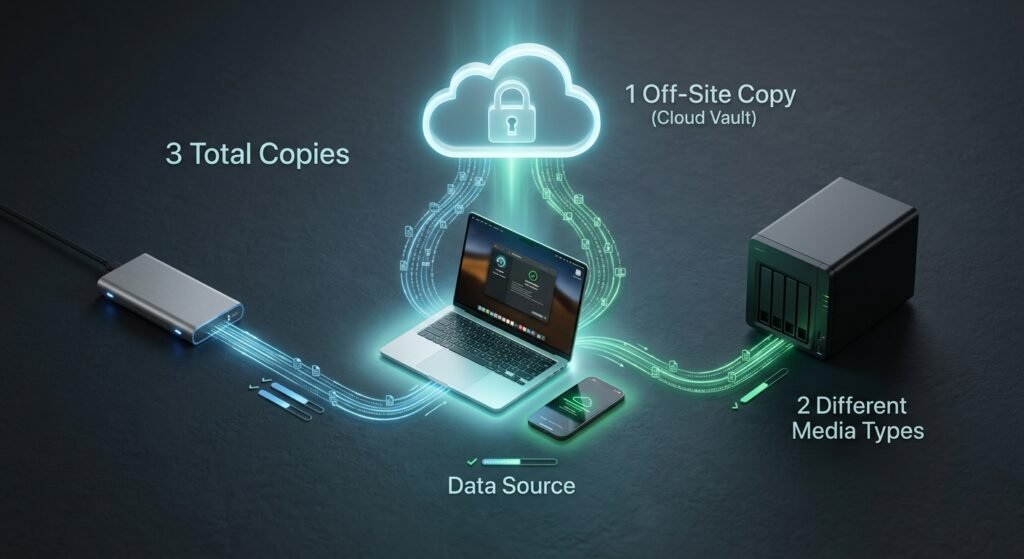
- Follow the 3-2-1 Rule: Keep three copies of your data on two different storage types, with at least one copy stored off-site in the cloud.
- Automate Mobile First: Use native iCloud Backup for iOS and Google One for Android to capture app data, system settings, and full-resolution media over Wi-Fi while charging.
- Layer PC Protection: Pair real-time cloud folder syncing (OneDrive, iCloud Drive, or Google Drive) with local system-image backups (Time Machine or File History).
- Test Your Restores: An unverified backup is a gamble; perform a quarterly spot-check to confirm your files are intact and recoverable.
The 3-2-1 Backup Rule Explained
Before flipping switches in your settings menu, anchor your setup in the industry-standard 3-2-1 backup strategy. Cloud syncing alone is not a complete backup—if ransomware encrypts your PC or you accidentally delete a folder, a pure sync service will immediately mirror that deletion across every connected device.
- 3 Total Copies: Your primary working files plus two separate backups.
- 2 Different Media Types: Store data on your internal drive and a secondary medium, such as an external solid-state drive (SSD) or network-attached storage (NAS).
- 1 Off-Site Copy: Keep at least one copy geographically separated from your home via encrypted cloud storage to protect against theft, fire, or flooding.
[External Link: Read the official CISA guide on data backup best practices]
How to Automatically Back Up Your Smartphone
Smartphones hold our most sensitive authentication tokens, messages, and personal memories. Configuring native background backups ensures everything transfers over when you upgrade or replace a lost device https://fibozin.com.
[Image Placeholder 1]
iPhone (iCloud Backup)
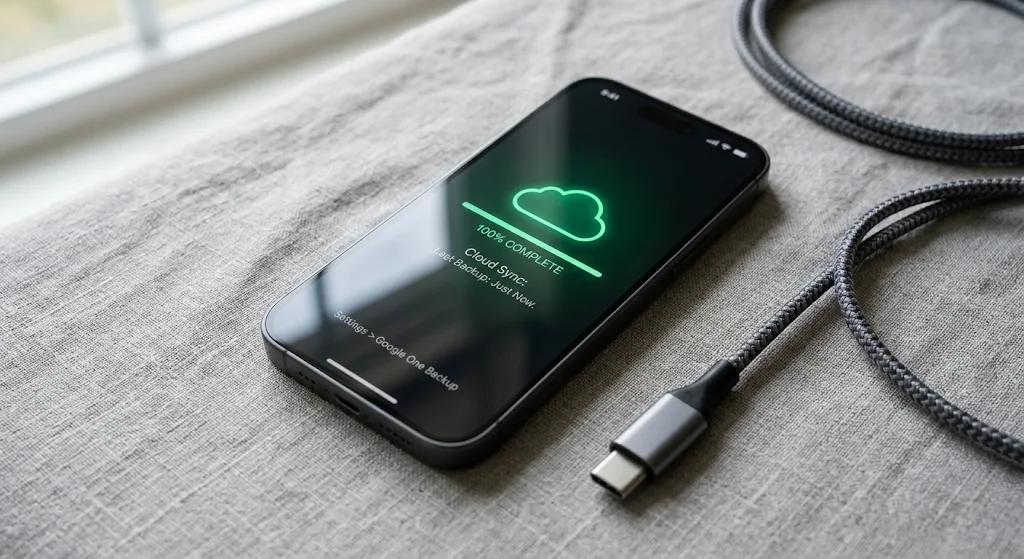
Apple’s built-in solution captures device settings, app data, iMessages, and home screen layouts automatically whenever your iPhone is locked, connected to power, and on Wi-Fi.
- Open Settings and tap your Apple Account name at the top.
- Select iCloud, then tap iCloud Backup.
- Toggle Back Up This iPhone to On.
- Return to the main iCloud menu, tap Photos, and enable Sync this iPhone so your camera roll updates continuously.
Tip: The free 5 GB tier fills up within days. Upgrade to at least the 50 GB or 200 GB iCloud+ plan so backups never stall silently.
Android (Google One & Google Photos)
Android separates system configuration backups from high-resolution media storage, requiring two quick toggles for complete coverage.
- Open Settings and navigate to Google (or System then Backup, depending on your manufacturer).
- Tap Backup and toggle on Backup by Google One.
- Confirm your Google account is selected and tap Back up now to trigger the initial baseline snapshot.
- Open the Google Photos app, tap your profile icon in the top-right corner, select Photos settings, and turn on Backup to preserve full-resolution photos and videos.
[Internal Link: Check out our complete guide to optimizing mobile cloud storage plans]
How to Back Up Your PC Automatically (Windows & macOS)
Desktop and laptop computers require a two-tiered approach: continuous cloud syncing for active documents and scheduled local backups for full system recovery.
[Image Placeholder 2]
Windows 11: OneDrive + File History
Windows integrates cloud folder protection directly into File Explorer while offering native local versioning for external drives https://www.atlassian.com.
Step 1: Enable Cloud Folder Backup
- Click the OneDrive cloud icon in your system tray (bottom right) and open Settings (gear icon).
- Navigate to Sync and backup and click Manage backup.
- Toggle on Desktop, Documents, and Pictures, then click Save changes. Your core folders now mirror automatically to Microsoft’s servers.
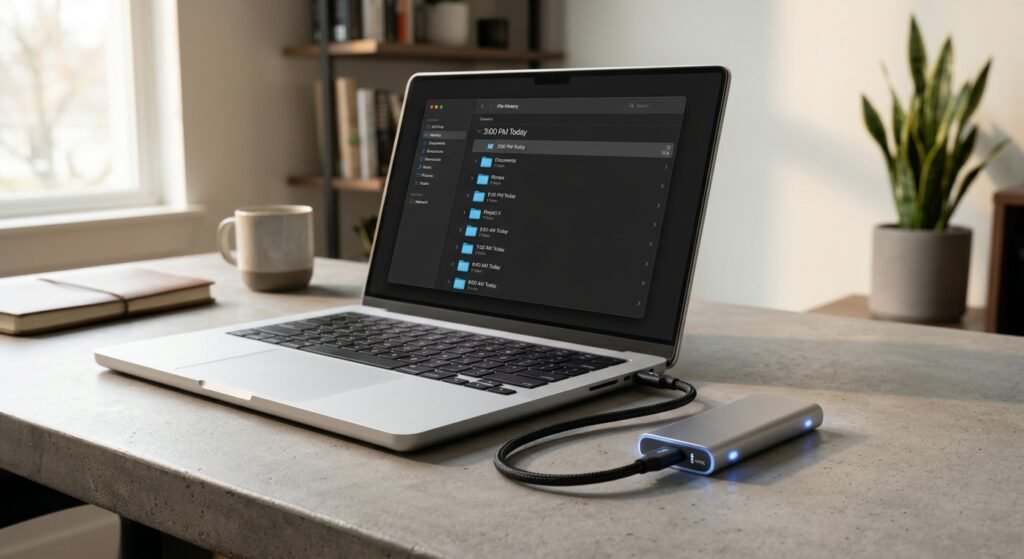
Step 2: Set Up Local File History
- Plug in an external USB drive or SSD.
- Open the Start Menu, type File History, and launch the Control Panel utility.
- Click Turn on to automatically save hourly versions of your user libraries onto the external drive.
macOS: Time Machine + iCloud Drive
Apple’s Time Machine remains one of the best consumer backup utilities ever built, creating hourly, daily, and weekly snapshots that let you restore individual files or an entire Mac.
- Connect a dedicated external SSD or hard drive to your Mac (macOS will prompt you to format it as APFS if needed).
- Open System Settings, click General, and select Time Machine.
- Click Add Backup Disk, choose your external drive, and enable Encrypt Backup with a strong password.
- To mirror your active workspace to the cloud, go to System Settings, click your Apple Account, select iCloud, click Drive, and toggle on Desktop & Documents Folders.
Essential Maintenance Tips for Bulletproof Backups
Setting up automation handles 95% of the workload, but a few smart habits ensure your safety net never fails when an emergency hits.
[Image Placeholder 3]
- Enable Two-Factor Authentication (2FA): Because your cloud backups contain personal documents and device snapshots, lock your Apple, Google, and Microsoft accounts behind hardware keys or an authenticator app.
- Watch for Storage Warnings: Automated backups silently pause when cloud storage hits 100% capacity. Respond immediately to low-storage notifications.
- Verify File Restoration Quarterly: Every three months, open your cloud drive on a web browser or browse your Time Machine/File History archive and restore a random file to verify integrity.
[Internal Link: Learn how to secure your home network and smart devices against ransomware]
Conclusion
Taking twenty minutes today to configure automated cloud syncing and local drive snapshots saves hours of panic and thousands of dollars in data recovery fees later. Once you set up the tools above to back up your phone and PC automatically, your devices will quietly protect every photo, contract, and system setting around the clock—leaving you free to focus on your work without worrying about hardware failure.
Frequently Asked Questions (FAQs)
How can I back up my phone and PC automatically for free?
You can back up your phone and PC automatically for free using the base storage tiers included with your operating system—5 GB on Apple iCloud, 15 GB on Google One, and 5 GB on Microsoft OneDrive—combined with free local software like macOS Time Machine or Windows File History connected to an existing external hard drive.
Is cloud syncing the same as a full device backup?
No. Cloud syncing services like Dropbox or Google Drive mirror changes in real time, meaning if you accidentally delete a file or get hit by ransomware, the cloud copy is deleted or corrupted too. A true backup preserves version history and system snapshots so you can roll back to an earlier point in time.
How often should automatic backups run?
Cloud folder syncing and mobile photo uploads should run continuously in real time over Wi-Fi. Full device backups—such as iPhone iCloud Backups, macOS Time Machine, and Windows File History—work best on an automated hourly or daily schedule while devices are plugged into power.
Do automatic phone backups use my cellular data?
By default, iOS and Android restrict full system backups to Wi-Fi connections while your phone is charging so they do not drain your battery or consume mobile data caps. You can optionally allow photo uploads over cellular data in your settings if you have an unlimited data plan.
Leave a Reply