Introduction
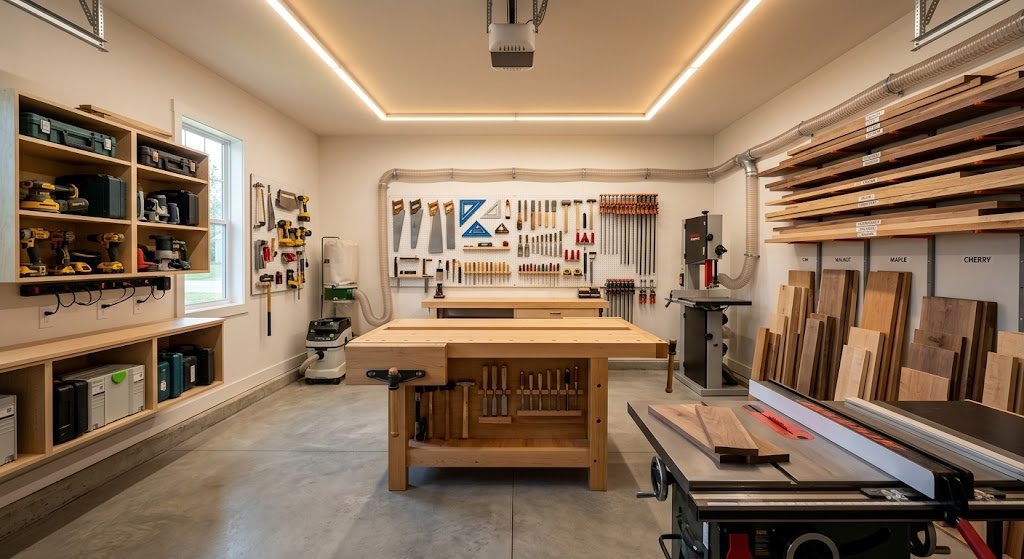
There are few milestones in a maker’s journey as satisfying as carving out a dedicated workspace of your own. Setting Up Your First Home Woodshop represents the transition from a casual hobbyist working on a kitchen table to a serious craftsman capable of producing heirloom-quality furniture. However, transforming a spare garage bay, a dry basement corner, or a backyard shed into an efficient, safe, and functional shop requires careful planning regarding layout, power supply, dust extraction, and tool selection.
Many beginners make the mistake of buying heavy machinery before evaluating their space constraints or electrical capacity, leading to cramped work zones and safety hazards. In this comprehensive guide, we walk you through the structural steps required for setting up your first home woodshop—from optimizing limited square footage and establishing non-negotiable safety standards to choosing the core power tools that will form the backbone of your woodworking career https://fibozin.com.
Key Takeaways
- Design Around Workflow: Arrange your shop in logical zones (material storage, milling/cutting, assembly, and finishing) to minimize heavy lifting and optimize movement.
- Prioritize Electrical Capacity: Most home workshops require dedicated 20-amp circuits or subpanels to run heavy stationary dust collectors and table saws simultaneously without tripping breakers.
- Invest in Dust Collection Early: Fine wood dust is a serious respiratory hazard; combining an air filtration unit with a 2-stage dust extractor keeps your lungs and shop clean.
- Start with Versatile Power Tools: You don’t need a massive commercial shop right away; a contractor table saw, a compound miter saw, and a router table cover 90% of beginner needs.
- Safety is Non-Negotiable: Always implement personal protective equipment (PPE), maintain clear escape paths, and secure push blocks near every blade.
1. Planning Your Space: Layout, Power, and Ventilation
Before you purchase a single tool or build a workbench, you must evaluate the physical boundaries of your workspace. Whether you are working with a single-car garage or a tight 10×12 basement room, setting up your first home woodshop successfully starts with intelligent spatial design.
Establishing an Efficient Workflow
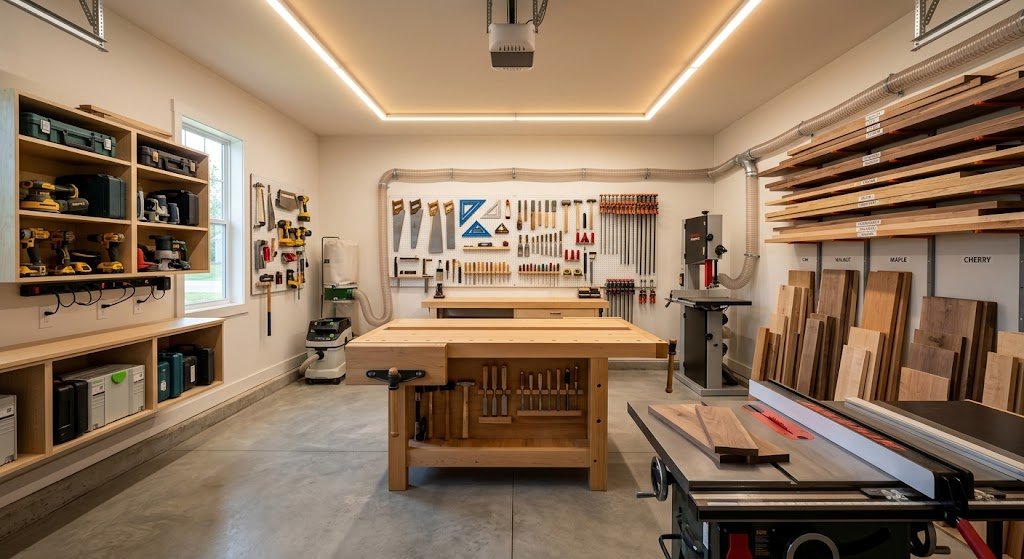
- The Triangle of Production: Position your primary cutting tools (table saw and miter saw) close to your lumber storage racks to eliminate carrying heavy boards across the entire room.
- Mobility is King: For spaces under 400 square feet, install heavy-duty locking casters on your workbench, table saw stand, and drill press so you can roll tools out toward the center of the room during active builds Wikipedia.
Electrical and Lighting Requirements
- Dedicated Circuits: Running a 15-amp table saw and a dust collector on the same household breaker will constantly trip circuits. Plan to install dedicated 20-amp lines or run a workshop subpanel.
- Shadow-Free Lighting: Combine bright 5000K LED shop lights with localized swing-arm task lighting over your workbench and lathe to eliminate hand shadows while cutting and measuring.
[Internal Link: Check out our complete beginner’s guide to essential woodworking tools and techniques to match your workflow]
2. Essential Shop Safety and Dust Mitigation
Safety is the absolute cornerstone of any successful woodworking space. When setting up Your first home woodshop, ignoring environmental health and workshop ergonomics is a recipe for injury.
Building a Safe Environment
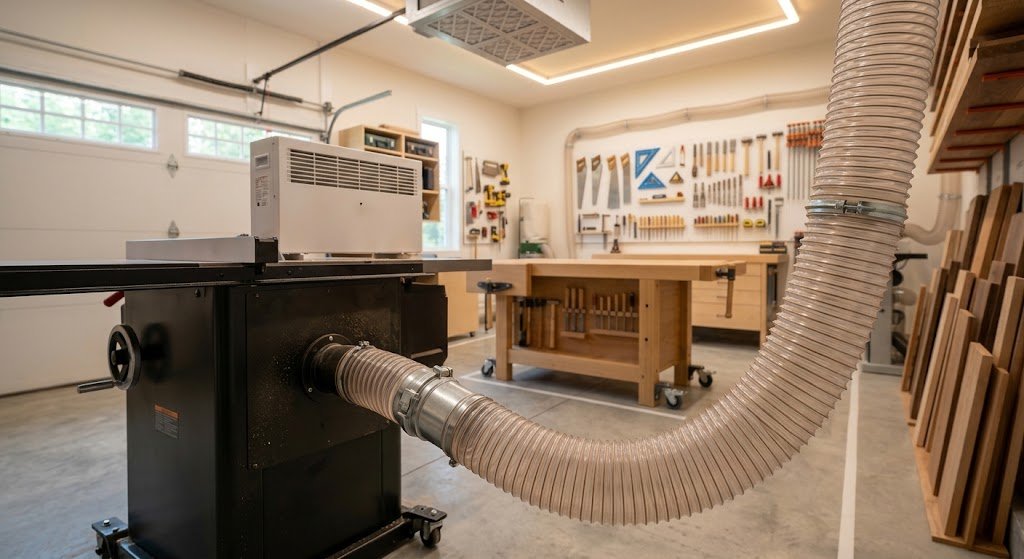
- Air Quality Management: Fine airborne dust particles (PM2.5) penetrate deep into lung tissue. Install a ceiling-mounted ambient air scrubber and connect a cyclonic dust separator directly to your power tools.
- First Aid and Fire Safety: Keep a fully stocked trauma and burn first-aid kit mounted visibly near the entrance, along with an ABC-rated fire extinguisher. Because finishing oils can cause spontaneous combustion, store all oily rags in a dedicated water-filled metal disposal can.
[External Link: Review OSHA woodworking machinery safety standards and guidelines to ensure full compliance]
3. The Must-Have Power Tools for Your New Shop
When setting up your first home woodshop, it is easy to overspend on specialized gadgets you will rarely use. Focus your initial budget on robust, high-impact core machinery.
The Core Startup Arsenal
- The Contractor Table Saw: The undisputed heart of the woodshop. Look for a saw with a heavy cast-iron top, a reliable T-style fence, and a riving knife to prevent dangerous kickback.
- Compound Miter Saw: Essential for crosscutting long boards, trimming panels to length, and cutting accurate 45-degree miter joints for frames and boxes.
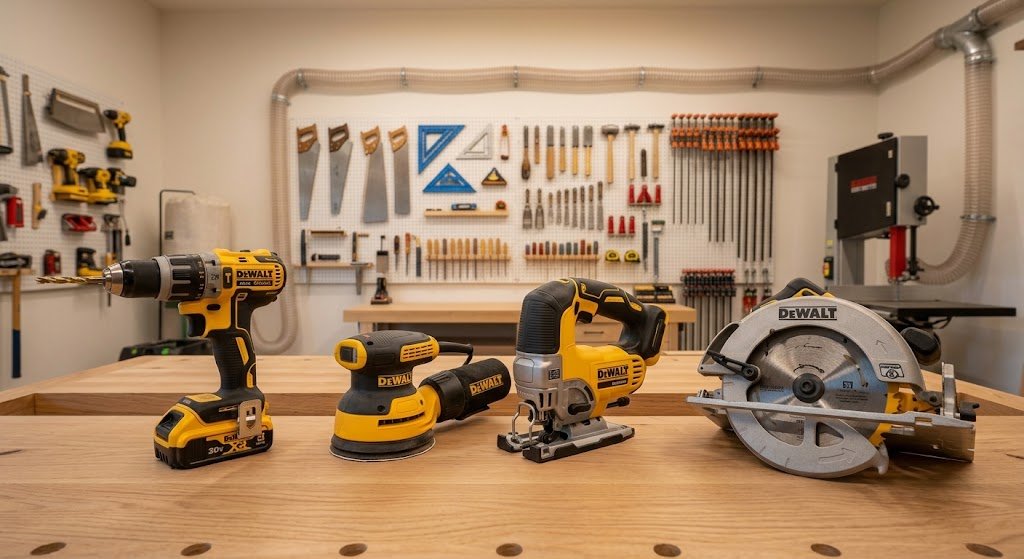
- Random Orbit Sander & Cordless Drill/Driver: A high-end 18V drill/driver combo kit handles pilot holes and driving fasteners, while a 5-inch random orbit sander prepares your surfaces for finishing.
Frequently Asked Questions (FAQs)
How much space do I need for setting up your first home woodshop?
You can comfortably begin woodworking in a space as small as 100 square feet (such as a corner of a basement or a single garage bay) by utilizing mobile tool bases and folding worktables. However, a 200 to 400-square-foot area provides optimal breathing room for handling full 4×8 sheet goods and stationary machinery.
Do I need 220V power for a home woodshop?
Not initially. Most beginner-to-intermediate power tools—including contractor table saws, band saws, and dust collectors—operate efficiently on standard 110V–120V circuits (ideally dedicated 20-amp lines). Heavy-duty industrial cabinet saws and wide belt sanders require 220V power.
What is the most important safety equipment in a woodshop?
Aside from eye and hearing protection, a proper fitting N95 or half-mask respirator is vital to protect your lungs from toxic exotic wood dust, MDF particles, and chemical finish vapors.
Conclusion
Setting Up Your First Home Woodshop is an exciting milestone that lays the groundwork for years of creative craftsmanship. By prioritizing intelligent space planning, investing in robust electrical and dust collection systems, and acquiring versatile core power tools rather than unnecessary gimmicks, you create a safe, efficient sanctuary for building heirloom furniture. Take your time, plan your layout carefully, and enjoy the process of crafting your ultimate workshop!
Leave a Reply