Introduction
Transforming raw timber into custom, Furniture Projects You Can Build in a Single Weekend functional home decor is one of the most rewarding home improvement endeavors. However, many beginners feel intimidated by complex joinery, expensive specialty machinery, and long project timelines https://fibozin.com. The good news is that you do not need years of woodworking experience or a professional shop to build beautiful, durable pieces for your home.
Focusing on furniture projects allows you to master fundamental woodworking skills—such as accurate pocket-hole joinery, clean crosscuts, and proper sanding techniques—while completing functional builds over a single weekend. This comprehensive guide details five beginner-friendly furniture builds, complete with material lists, step-by-step execution guides, and finishing tips to elevate your home space without breaking the bank.
Key Takeaways
- Minimal Tool Requirement: Most weekend furniture builds require only basic power tools: a circular saw or miter saw, a cordless drill, a pocket-hole jig, and an orbital sander.
- Smart Material Selection: Utilizing dimensional lumber (such as standard 2x4s, 1x6s, and select pine boards) reduces lumber costs and minimizes complex ripping cuts.
- Pocket-Hole Efficiency: Pocket-hole joinery creates strong, hidden mechanical joints quickly, eliminating the need for complex mortise-and-tenon craftsmanship.
- Pre-sanding Saves Time: Sanding individual wooden components with 120-grit and 220-grit sandpaper before assembly yields far smoother finishes than sanding pre-assembled furniture.
- Measure Twice, Cut Once: Taking precise measurements and accounting for saw blade kerf (typically 1/8 inch) prevents alignment issues during final assembly.
Project 1: The Modern Rustic Entryway Bench
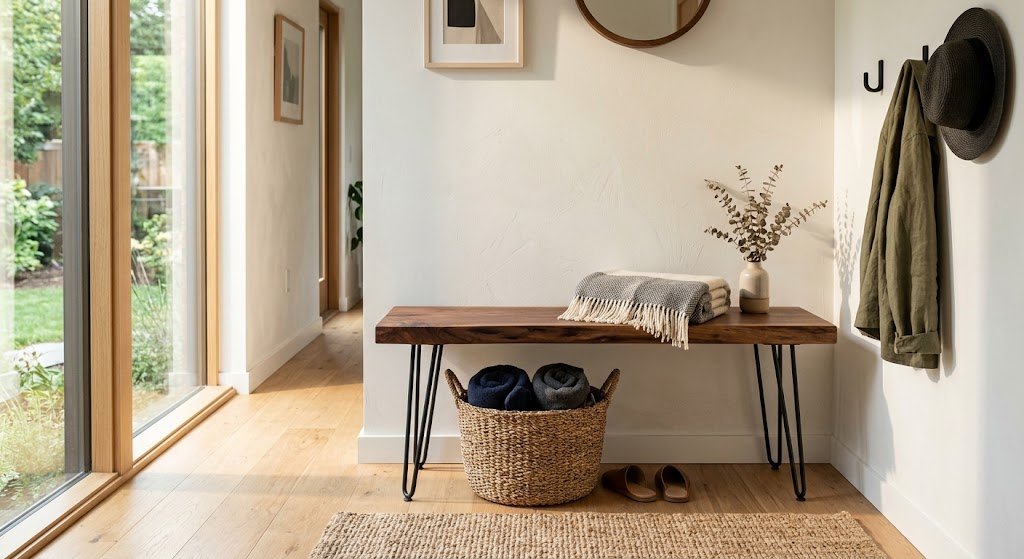
An entryway bench provides functional seating and shoe storage while making an immediate aesthetic statement in your foyer or hallway.
Materials Needed:
- (2) 2×6 Pine boards (cut to 48 inches)
- (4) Pre-fabricated metal hairpin legs (or 2×4 wooden leg assemblies)
- Wood glue and 2.5-inch pocket hole screws
- Wood stain and protective polyurethane finish
Step-by-Step Build Guide:
- Edge-Gluing the Seat: Align two 48-inch 2×6 boards side by side. Apply a generous bead of PVA wood glue along the joining edges and clamp them tightly together for at least 45 minutes.
- Reinforcing the Joint: Drill pocket holes along the underside of one board and secure the two pieces together using 2.5-inch pocket hole screws.
- Attaching the Legs: Measure 2 inches from each corner on the underside of the bench top. Position the mounting plates for your steel hairpin legs or timber support blocks and secure them using heavy-duty wood screws.
- Sanding and Finishing: Sand the surface progressively with 80, 150, and 220-grit sandpaper before applying your choice of wood stain and a clear topcoat.
Project 2: Floating Minimalist Wall Shelves
Floating shelves maximize vertical wall space, offering an elegant way to display books, plants, and tech devices without bulky brackets.
Build Overview:
Floating shelves use a internal wooden 2×2 bracket anchored directly into wall studs, over which a hollow wooden sleeve slides smoothly.
- Step 1: Construct a ladder-style internal frame using 2×2 pine lumber, fastened with 2.5-inch wood screws driven straight into wall studs.
- Step 2: Build a three-sided sleeve casing using 1×6 top and bottom panels with a 1×2 front face board.
- Step 3: Slide the sleeve over the mounted wall bracket and secure it from the top using flush trim nails.
[Internal Link: Explore our full guide on setting up a home workspace and custom ergonomic desks]
Project 3: A Minimalist Coffee Table with Storage
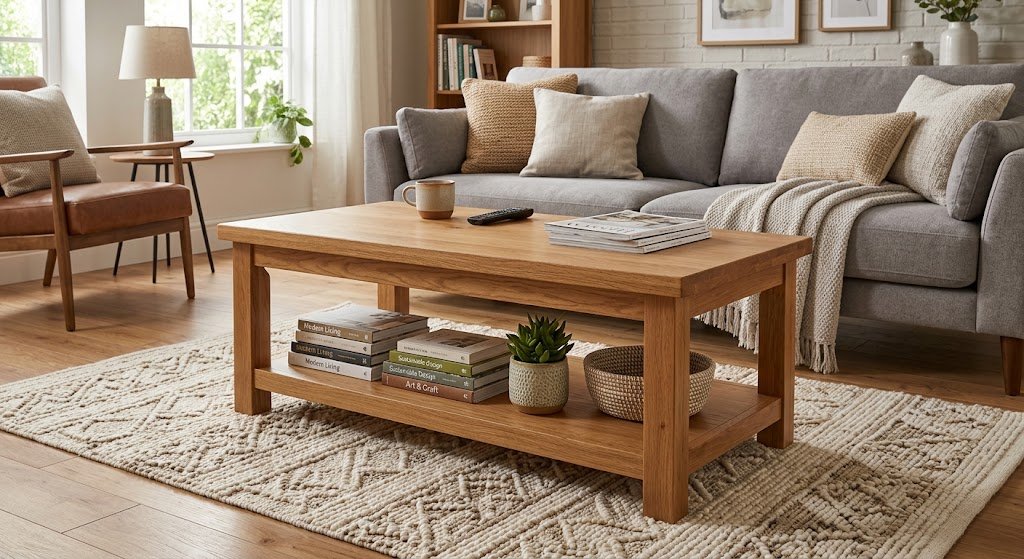
A sleek, functional coffee table is often the focal point of a living room. By utilizing a simple box frame construction, this project offers built-in lower storage for magazines, remotes, and media controllers.
Key Features and Assembly Tips:
- Framework: Build two identical square side frames using 2×2 square dowels fastened with pocket screws.
- Slatted Lower Shelf: Attach parallel 1×3 slats across the bottom support rails to form an open air lower storage rack.
- Top Panel: Join three 1×8 boards together using pocket holes to form a solid, flat table surface, then secure it onto the base frame from underneath.
Project 4: The 4-Tier Lean-To Ladder Bookshelf
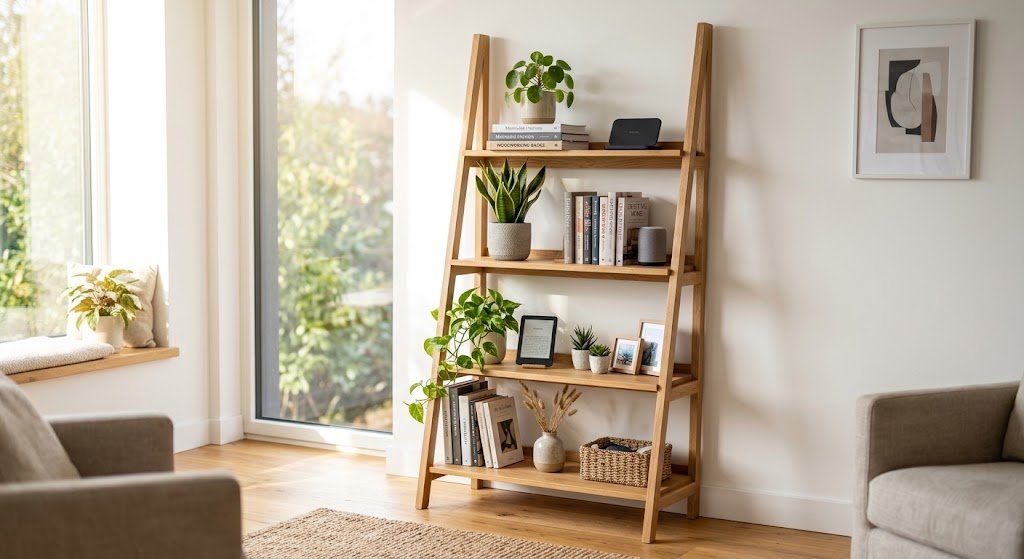
Leaning ladder bookshelves combine modern Scandinavian design with space-saving vertical storage, making them perfect for small apartments and bedrooms.
Angles and Precision Cutting:
- Cutting the Side Rails: Cut two 2×4 boards to 6 feet in length. Mitre the top and bottom edges at a 10-degree angle so the ladder leans stably against the wall while resting flat on the floor.
- Leveling the Shelves: Dado-notch or pocket-screw four horizontal 1×10 shelf tiers at equal intervals, ensuring each shelf rests horizontally level when the unit is leaned at its designated 10-degree angle.
- Wall Anchor Safety: Always install an anti-tip safety bracket on the top shelf to secure the unit to a wall stud.
[External Link: Read the official Forest Stewardship Council (FSC) guidelines on sourcing sustainably harvested lumber]
Project 5: Tiered Outdoor Plant Stand
Bring your garden or patio to life with a compact, weather-resistant tiered plant stand made from durable cedar or redwood Wikipedia.
Why Cedar or Redwood?
Cedar and redwood contain natural oils that resist insect infestation, rot, and moisture damage, making them ideal for outdoor wood furniture builds.
- Assembly: Build a simple A-frame ladder structure with three staggered horizontal shelf steps.
- Drainage Gaps: Leave a 1/4-inch gap between shelf slats to allow rainwater to drain freely.
- Finish: Apply an exterior-grade UV-resistant teak oil or clear waterproofing sealant to preserve the natural wood color against sun bleaching.
Essential Tips for Weekend Woodworking Success
To ensure your easy DIY furniture projects turn out square, strong, and beautifully finished, keep these expert tips in mind:
- Check Lumber for Straightness: Look down the length of every board at the hardware store to avoid warped, twisted, or cupped timber.
- Pre-Drill Pilot Holes: Always pre-drill pilot holes when driving wood screws near the end grain of a board to prevent splitting the wood.
- Use the Right Glue: Standard interior PVA wood glue works well for indoor furniture, but use Waterproof Type III wood glue for outdoor projects.
Frequently Asked Questions (FAQs)
What are the best tools needed for beginner easy DIY furniture projects?
You can build almost any beginner furniture project with four basic tools: a miter saw (or circular saw), a cordless drill/driver, a pocket-hole jig (like a Kreg Jig), and a random orbital sander.
Which wood is best and cheapest for DIY furniture builds?
Construction-grade pine and Douglas fir (2x4s and 2x6s) are the most affordable and widely available lumber options. For nicer indoor furniture, select white pine or poplar offers cleaner grain patterns without excessive knots.
How do I prevent wood from splitting when driving screws?
To prevent splitting, always drill a pilot hole using a drill bit that matches the core shank diameter of your screw. Using self-tapping wood screws or pocket-hole screws with built-in nibs also drastically reduces wood tension.
Final Thoughts
Building your own furniture does not require a massive workshop or decades of master carpentry training. By tackling these easy DIY furniture projects, you can acquire essential woodworking skills, save money, and enjoy custom-crafted home decor built by your own hands in just a few short days. Pick a project, gather your materials, and transform your living space this weekend!
Leave a Reply